


Psyche’s Souvenirs
Kyra Correa
Major: Illustration
Genre/Medium: Travel/Souvenir Magnets. Laser Cut and Engraved Cast Acrylic, Paint Pens, Neodymium Magnets
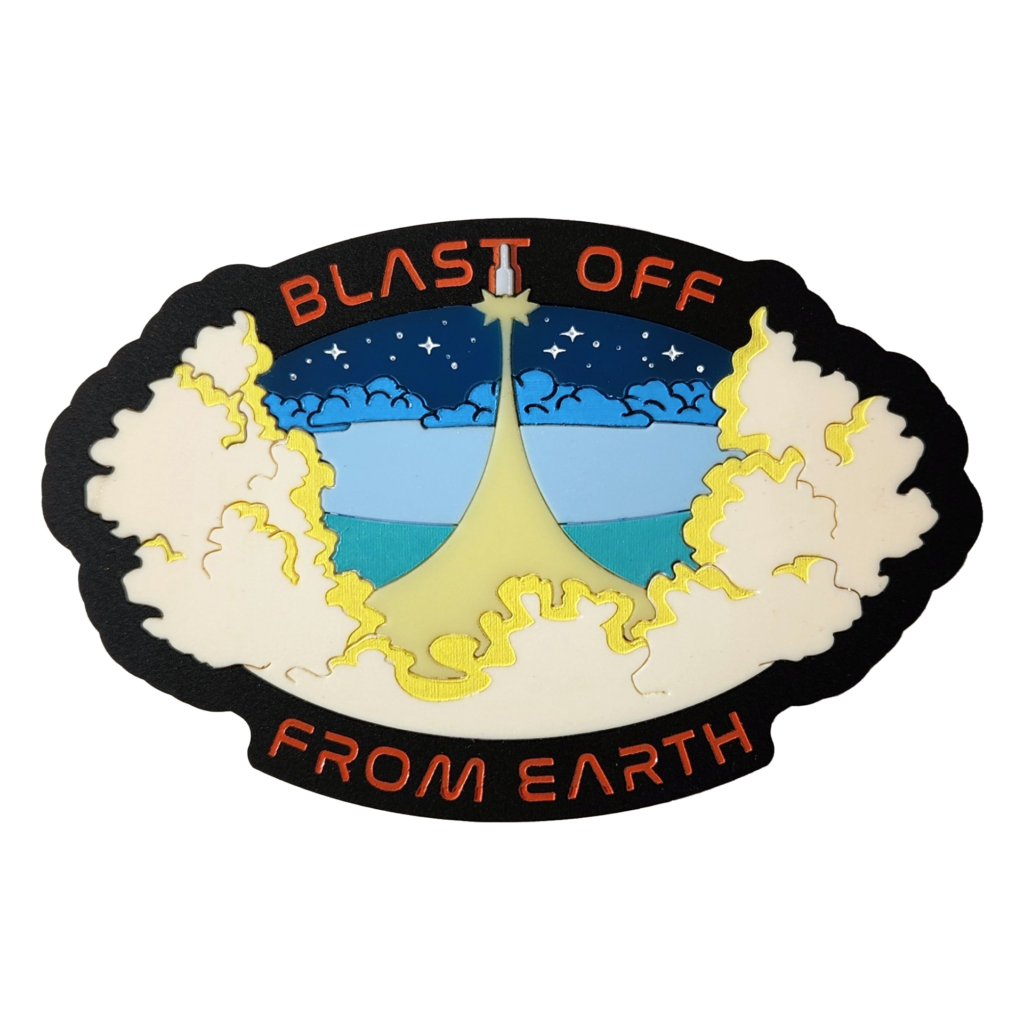
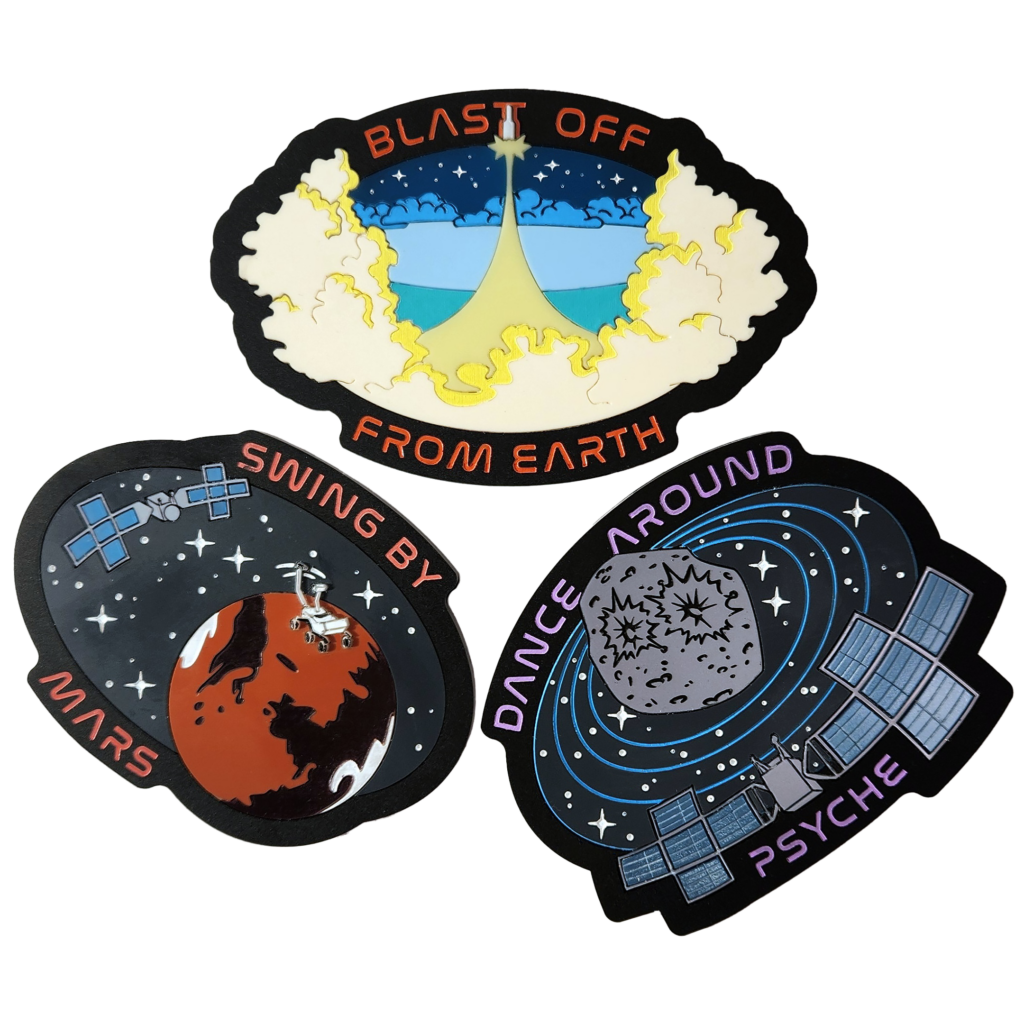
About the work: When my family travels, we always bring back a magnet to remember our trip by. So, for my first project, I fabricated three magnets depicting the major stops on Psyche’s journey for us on Earth to remember it by! The first magnet shows Psyche blasting off from Earth aboard a SpaceX Falcon Heavy rocket, with the ocean and sky behind Kennedy Space Center visible in the background as the rocket passes above the clouds and into the stars, forming the “T” in “blast off.” The second shows the spacecraft using Mars as a gravity assist, with Curiosity the Mars rover waving hello as Psyche “swings by.” In the third magnet, the spacecraft arrives at and begins its “dance” around the asteroid (16) Psyche. The four stages of the spacecraft’s orbit are represented by four blue rings. To make sure all the magnets worked as a series, I used some similar visual elements between the three. They all use the same oval as their base shape and have the same stars in the background. The shape of the stars reference those on the NASA “meatball” insignia, and the font I used is a callback to the NASA “worm” logotype. The three are meant to be displayed with the cross-shaped stars pointing straight up-and-down and side-to-side. Each is made out of different colors of cast acrylic thermoplastic that I also painted to include more colors and details. Most of the colors of acrylic I chose have a matte finish, except for the silver and blue used on the Psyche spacecraft and (16) Psyche, which are shiny and metallic. To make the magnets, I drew out the designs and traced them into vector lines and solid fills. When run through a laser cutter, the vector lines are cut out and the fills are engraved. Then, before I laser cut them, I made every separate piece’s vector line ever so slightly larger to make the pieces fit snugly together. Once everything was cut and engraved, I colored the engraved spaces with paint pens and adhered everything together with solvent cement. Finally, I attached neodymium magnets to the back of each.